
Your first choice field
Updated November 10, 2026
This walk-through turns a Radio Buttons field into picture cards. It takes about two minutes.
1. Turn on KodaChoices for the field
- Open your form in the form editor and click a Radio Buttons, Checkboxes or Multiple Choice field.
- In the field settings on the right, open the KodaChoices section (below General, Appearance and Advanced).
- Tick Show these choices as KodaChoices cards.
- Under Mode, pick Image.
Leave Style on Form default for now. Every site starts with one style, Card.
2. Give each choice a picture
- Open the General section and click Edit Choices.
- Under each choice, click Picture and choose or upload a picture in the Media Library.
- Click Save Form.
To add pictures to a lot of choices at once, use Add pictures to many choices in the KodaChoices section (see Adding pictures to many choices).
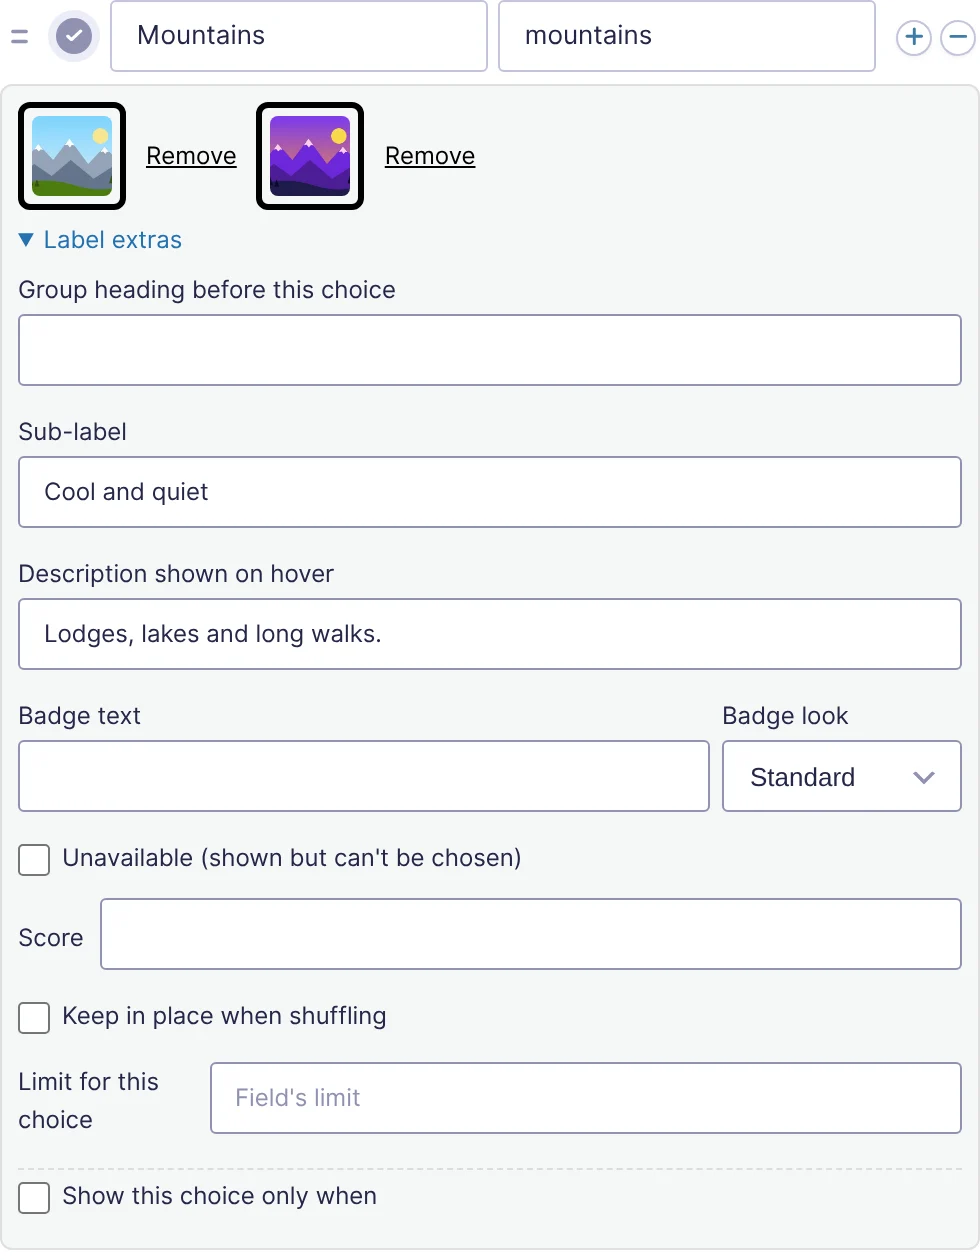
3. Try it
Preview the form. Each choice is now a card with its picture. Click a card to choose it: it gets the style’s selected outline and a tick. The real radio buttons are still there underneath, so the form saves, validates and sends exactly as before.
Where to go next
- Display modes: swatches, icons, buttons and visual dropdowns.
- Settings for each choice: sub-labels, badges, hover descriptions and more.
- Styles: make the cards look exactly how you want.
- Rules and limits: stock, quantities, one per person and choices that show only when they apply.
Was this page helpful?
Thanks for letting us know.