
How to Display Gravity Forms Entries on the Front End
Updated November 10, 2026 · 5 min read
Gravity Forms is very good at collecting data. Showing that data back on your site is another story: out of the box, entries live in Forms → Entries in wp-admin, and only people who can log in to the dashboard can see them.
That’s fine for a contact form. It’s a problem when the form is a job application, a booking request, a member directory or a project tracker, and the people who need the entries are staff, clients or volunteers who should never be in wp-admin.
This guide covers what Gravity Forms gives you on its own, the code route, and how to build a front-end board of entries without code.
What Gravity Forms can do on its own
Gravity Forms has no built-in way to list entries on a page. What it does have:
- Merge tags in confirmations and notifications, so the person who just submitted sees or receives their own answers.
- The Entries screen in wp-admin, where you can search, filter, edit and export, if you have the right capabilities.
- Post creation (via the Advanced Post Creation add-on), which turns each entry into a WordPress post that your theme can display.
None of these gives you a searchable list of entries on a front-end page, with control over who can see or change each one.
The code route
If you’re comfortable with PHP, Gravity Forms’ API can fetch entries for you. A shortcode that calls GFAPI::get_entries() with a form ID and some search criteria, then prints a table, will get a simple list on a page.
It gets harder quickly. You have to handle paging, sorting, escaping every value, which fields each user may see, edit forms that save back to the same entry, file uploads and dates. For one read-only table it’s a fine afternoon project. For anything people work in every day, it turns into an app you have to maintain.
The no-code route: a KodaDash board
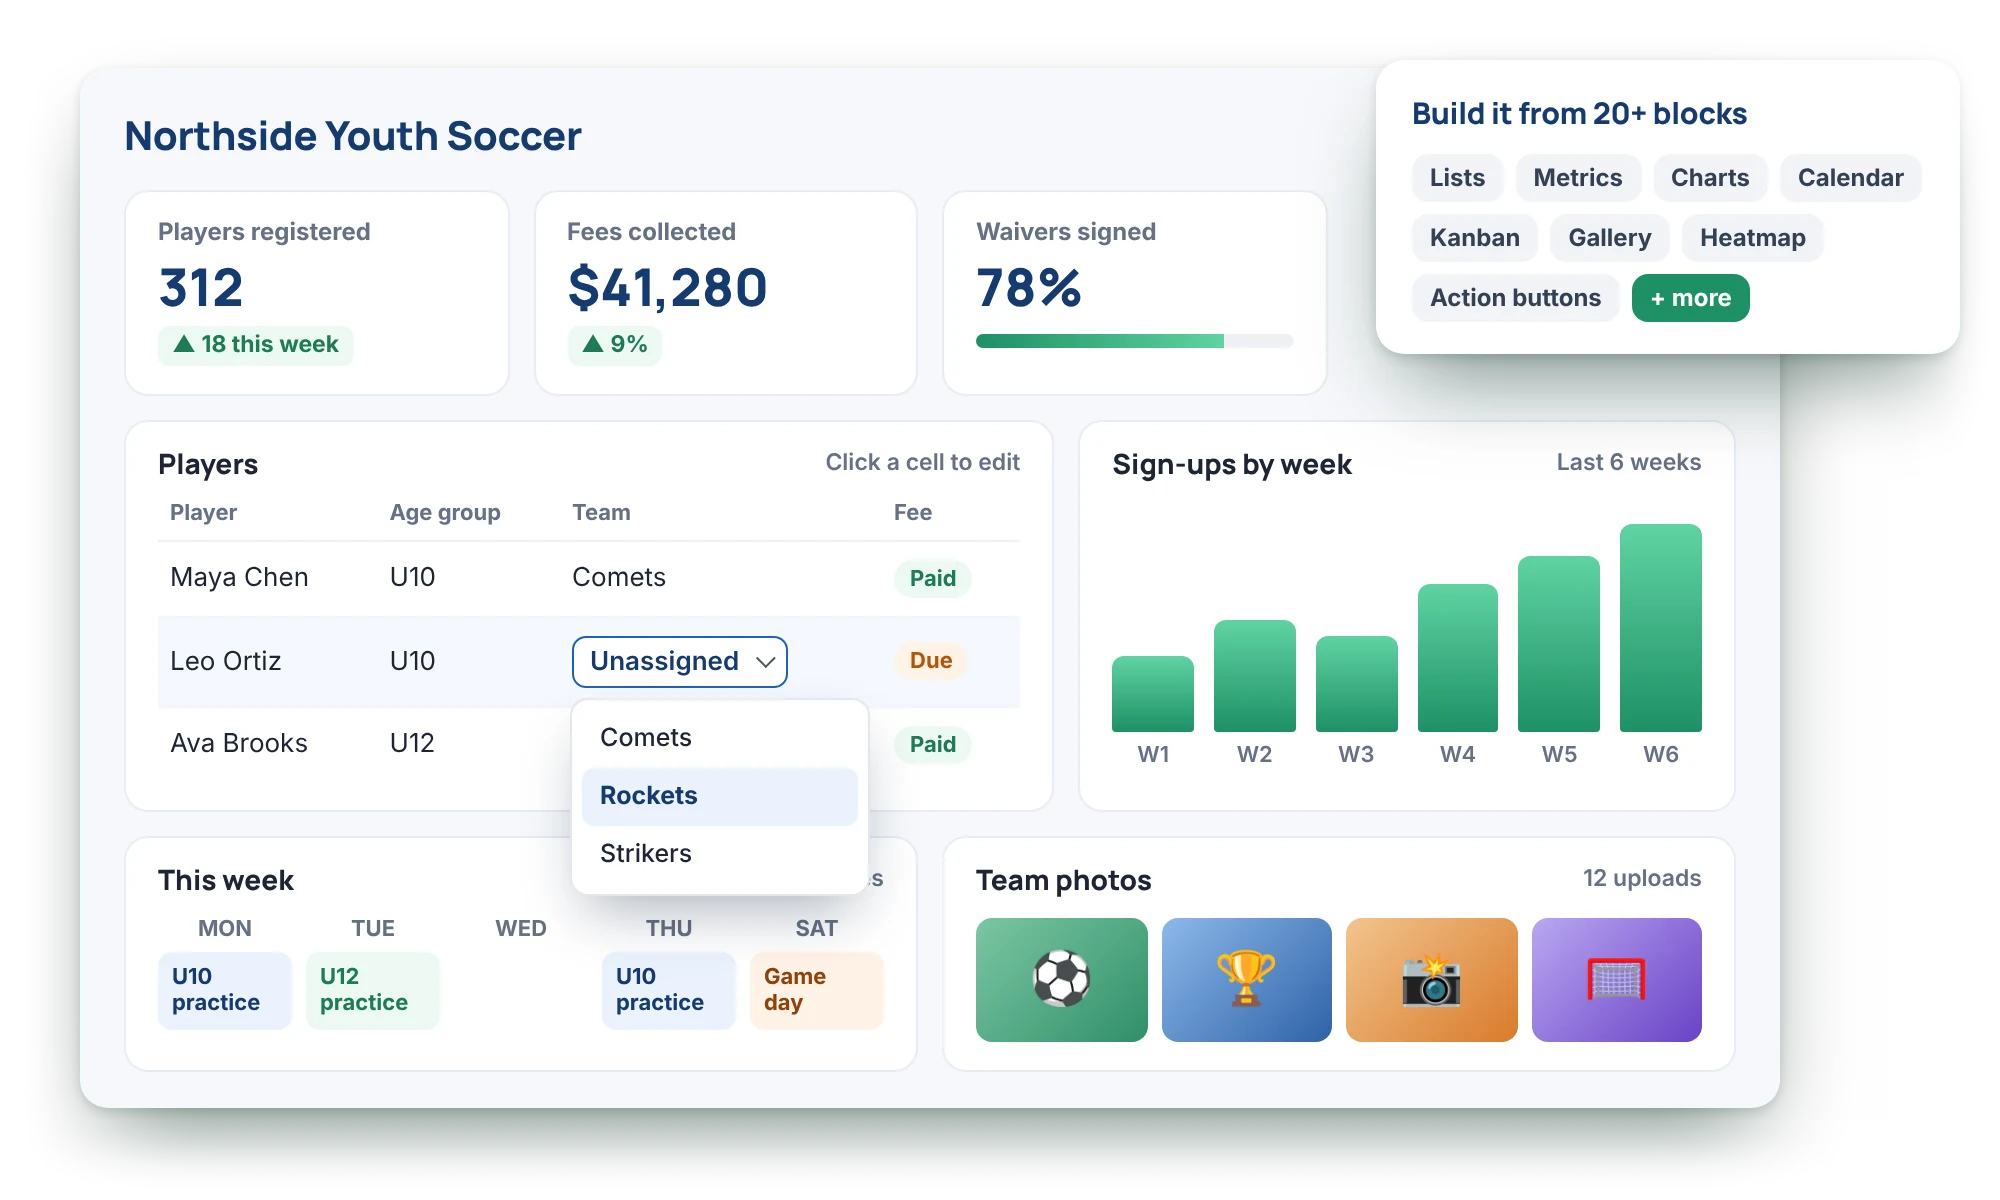
KodaDash puts Gravity Forms entries on the front end as boards. A board is a page-sized canvas made of rows and blocks: lists, Kanban boards, calendars, charts, metrics, galleries and more. Each block reads from one form, or from several forms at once.
1. Create a board
In wp-admin, go to KodaDash → Add New Board and give it a name, for example “Job Applicants”. Visitors don’t see this name. A new board starts with one empty row.
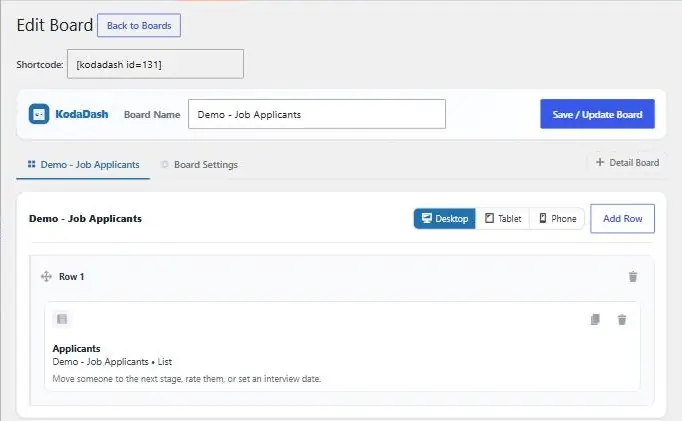
2. Add a List block and pick the form
Drag a List block from the Add Block panel into the row. In Edit Block → Source, choose your form. Newest entries come first unless you change the sort.
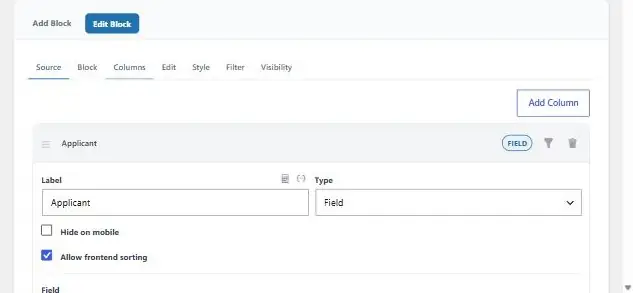
3. Choose the columns
Open the Columns tab and click Add Column for each field you want to show. The label is the column heading, and you can drag columns into any order.
4. Save and put the board on a page
Click Save / Update Board. A shortcode appears at the top of the editor, like [kodadash id="131"]. Paste it into a Shortcode block (or an Elementor Shortcode widget) on any page.
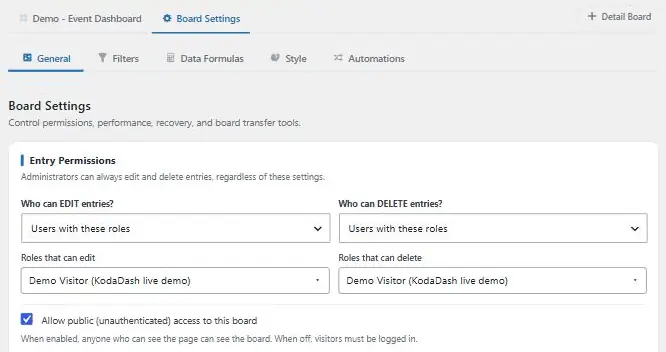
New boards are for logged-in visitors only. To show a board to everyone, open Board Settings → General and tick Allow public (unauthenticated) access to this board.
Decide who sees and edits what
Showing entries is the easy part. The real question is who should see which entries, and who can change them. In KodaDash that’s set per board and per block:
- Board access: logged-in visitors only (the default), or everyone.
- Entry permissions: who can edit and who can delete entries, set separately: the entry’s creator (the default), any logged-in user, chosen roles, or your own rules.
- Block visibility: show a block only to certain roles, so managers see a column of notes that applicants never do.
- Filters: show only the visitor’s own entries, only open requests, or only this week’s bookings, with a filter bar visitors can switch between.
Let people edit entries from the front end
A very common search is how to edit a Gravity Forms entry after it’s been submitted, without sending people to wp-admin. In KodaDash you add an Edit link column to a List, an Edit link row to an Entry Summary, or an edit link on calendar events.
Clicking it opens the entry’s own form, filled in with its current values. You choose which fields are hidden or read-only during edits, and edits save to the same entry instead of creating a new one. Edit links only appear for people allowed to edit that entry.
Edits don’t fire the form’s normal “Form is submitted” notifications. To email someone when an entry changes, add a notification with the event KodaDash: Entry Updated. Turn on the board’s edit history to record every change with who made it and when.
Beyond lists: calendars, Kanban and charts
Once your entries are on a board, the same data can be shown in more useful shapes:
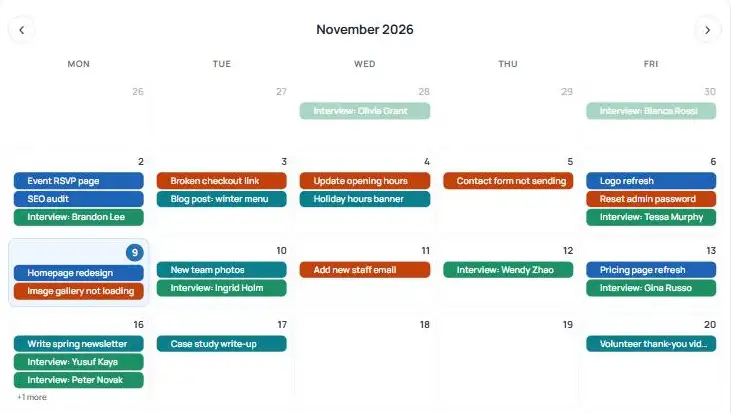
- Calendar blocks place entries on their dates, with events from several forms in different colours.
- Kanban blocks turn entries into cards that move between columns, with due dates, notes and @mentions.
- Metric and chart blocks count, total and graph your entries live.
- Detail Boards give each entry its own page when someone clicks it.
Which route should you take?
- You only need people to see their own answers once: Gravity Forms’ confirmations and merge tags are enough.
- You need one simple read-only table and you write PHP: a small shortcode with
GFAPI::get_entries()will do. - People need to find, filter, edit or track entries every day: use a front-end dashboard. You’ll save the time you’d spend building and maintaining permissions, editing and layouts yourself.
You can try a live KodaDash board, including the Kanban, calendar and editing, on the KodaDash page. The full setup is in the KodaDash docs.