
How to Build an Approval Workflow for Gravity Forms Entries
Updated November 10, 2026 · 3 min read
Leave requests, purchase requests, membership applications, event submissions, content for the website: a lot of forms are the start of a decision. Someone has to approve or reject each entry, and the person who sent it wants to know the answer.
This guide covers Gravity Forms’ options for approvals and how to run approvals from a simple front-end board.
What Gravity Forms offers
Gravity Forms has no approval step in the core plugin. Two common starting points:
- The free Approvals add-on on WordPress.org adds approve and reject to entries, with notifications on each. Approvers need permission to edit entries in wp-admin, and it hasn’t been updated in a while.
- A status field. Add a Radio Buttons or Drop Down field called Status (Pending, Approved, Rejected), set its visibility to Administrative, and change it in wp-admin. Notifications can use conditional logic on the status.
The status-field approach is simple and flexible. The friction is that approvers have to work in the Entries screen, one entry at a time, with access to wp-admin.
A front-end approval board
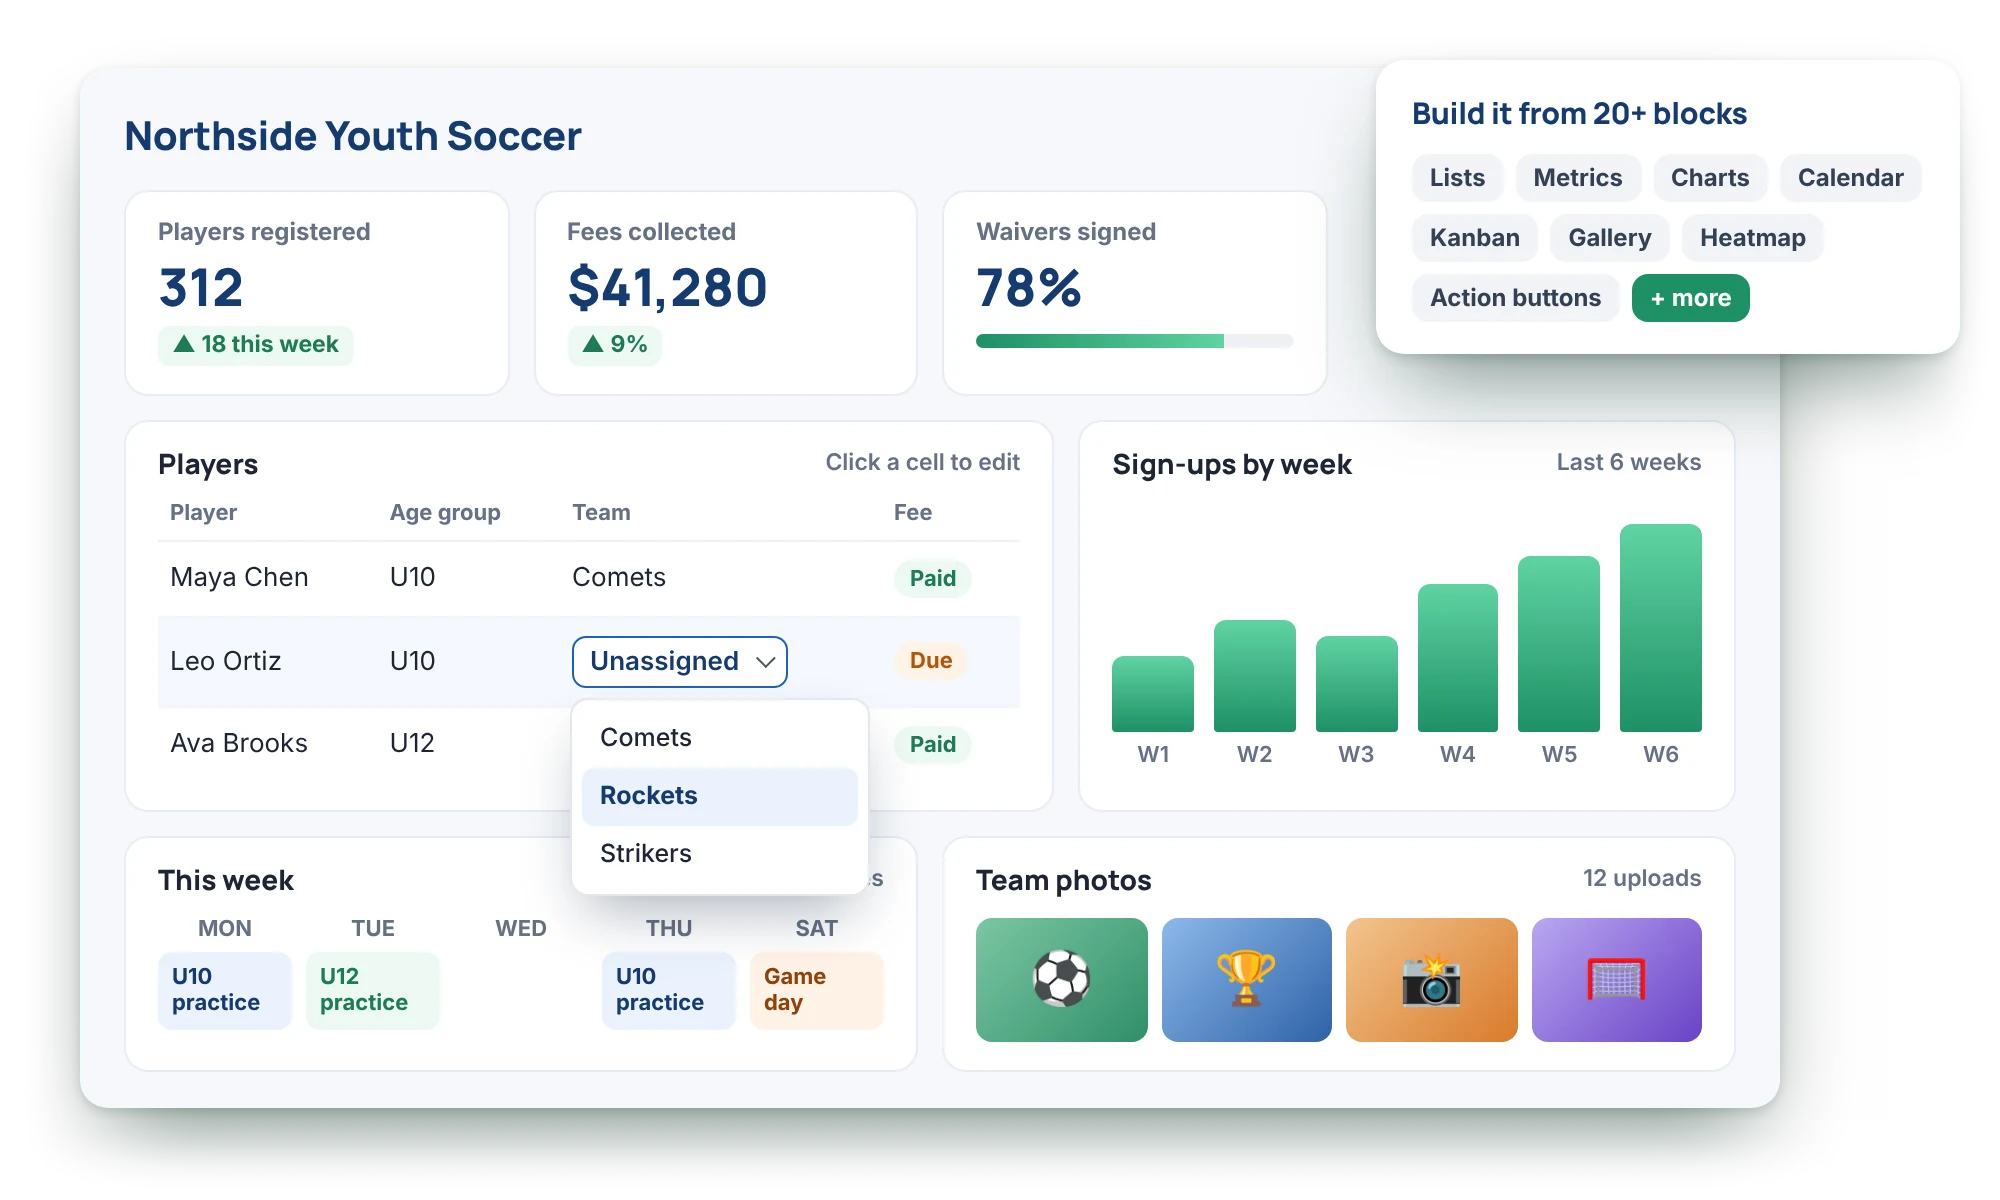
KodaDash keeps the simple status-field idea, and gives approvers a page on your site to work from. Here’s a setup for leave requests.
1. Add a status field
Add a Radio Buttons field Status with the choices Pending, Approved and Rejected, defaulting to Pending. Set its visibility to Administrative so the person asking doesn’t see it on the form.
2. Build the approver’s list
Create a board with a List block showing the request’s key fields. Add a board filter called Pending with the rule Status is Pending, and make it the default, so approvers see what’s waiting first. Add Approved and Rejected filters for the history.
3. Add Approve and Reject buttons
Add an Action Buttons column to the list. Each button can set a choice in one click: an Approve button sets Status to Approved, a Reject button sets it to Rejected. Buttons can change colour to show the entry’s current state.
4. Decide who can approve
In Board Settings → General → Entry Permissions, set who can edit entries: managers by role, or custom rules that compare the entry’s own fields with the visitor, such as Approver email is Current User Email. Buttons only work for people allowed to edit that entry. Use block visibility to hide the board’s approval controls from everyone else.
5. Email the person who asked
In the form’s notifications, add one with the event KodaDash: Action Button Clicked and conditional logic Status is Approved, sent to the requester’s email field. Add another for Rejected. They fire when an approver clicks the button. (If approvers sometimes edit the entry instead, add the same notification for KodaDash: Entry Updated.)
Let people see the status of their own requests
On a second board, show each logged-in person a list of their own requests with the Status column, using a filter on the entry’s creator. Now nobody has to email to ask whether their request was approved.
Prefer a Kanban?
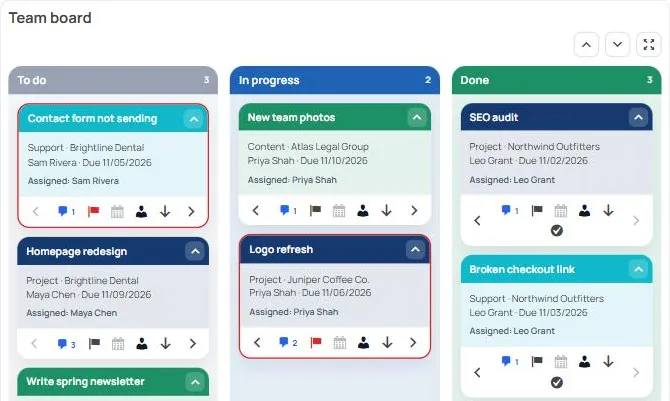
If requests go through more stages (Submitted, In review, Approved, Done), a Kanban block shows each stage as a column. Link the columns to the status field (Keep in step with form fields) and moving a card updates the status, and Kanban cards can carry notes, @mentions, due dates and their own action buttons.
Keep a record
Turn on Keep an edit history in Board Settings to record who changed the status, when, and from what. Show it on each request’s Detail Board with the Edit History block.
Which route should you take?
- A few approvals a month by one admin: a status field changed in wp-admin, with conditional notifications.
- Approvers who shouldn’t need wp-admin, several approvers, or requesters who want to see their status: a front-end approval board.
See lists, action buttons and a Kanban on the live demo board on the KodaDash page, or read about Action Buttons in the docs.