
How to Build an Event Registration Form with Gravity Forms
Updated November 10, 2026 · 3 min read
Gravity Forms is a popular choice for event registration because it already handles the basics: fields, payments and confirmation emails. Most events need a few more things on top: limited places, different tickets, a waiver for some people, and a list of who’s coming that the organisers can actually use.
This guide builds a complete registration step by step. Each step says what Gravity Forms does on its own and where an add-on helps, so you can pick only the parts you need.
1. The basic form
Start with what every registration needs: Name, Email, Phone, and a Ticket choice. If you’re taking payments, make Ticket a Product field and add a payment add-on such as Stripe or PayPal. Gravity Forms’ own confirmation and notification emails cover “thanks, you’re registered”.
2. Sessions with limited places
Workshops, rooms and time slots usually have a set number of places. Gravity Forms doesn’t count places per choice, so the usual workaround is checking entries by hand and editing the form when something fills up.
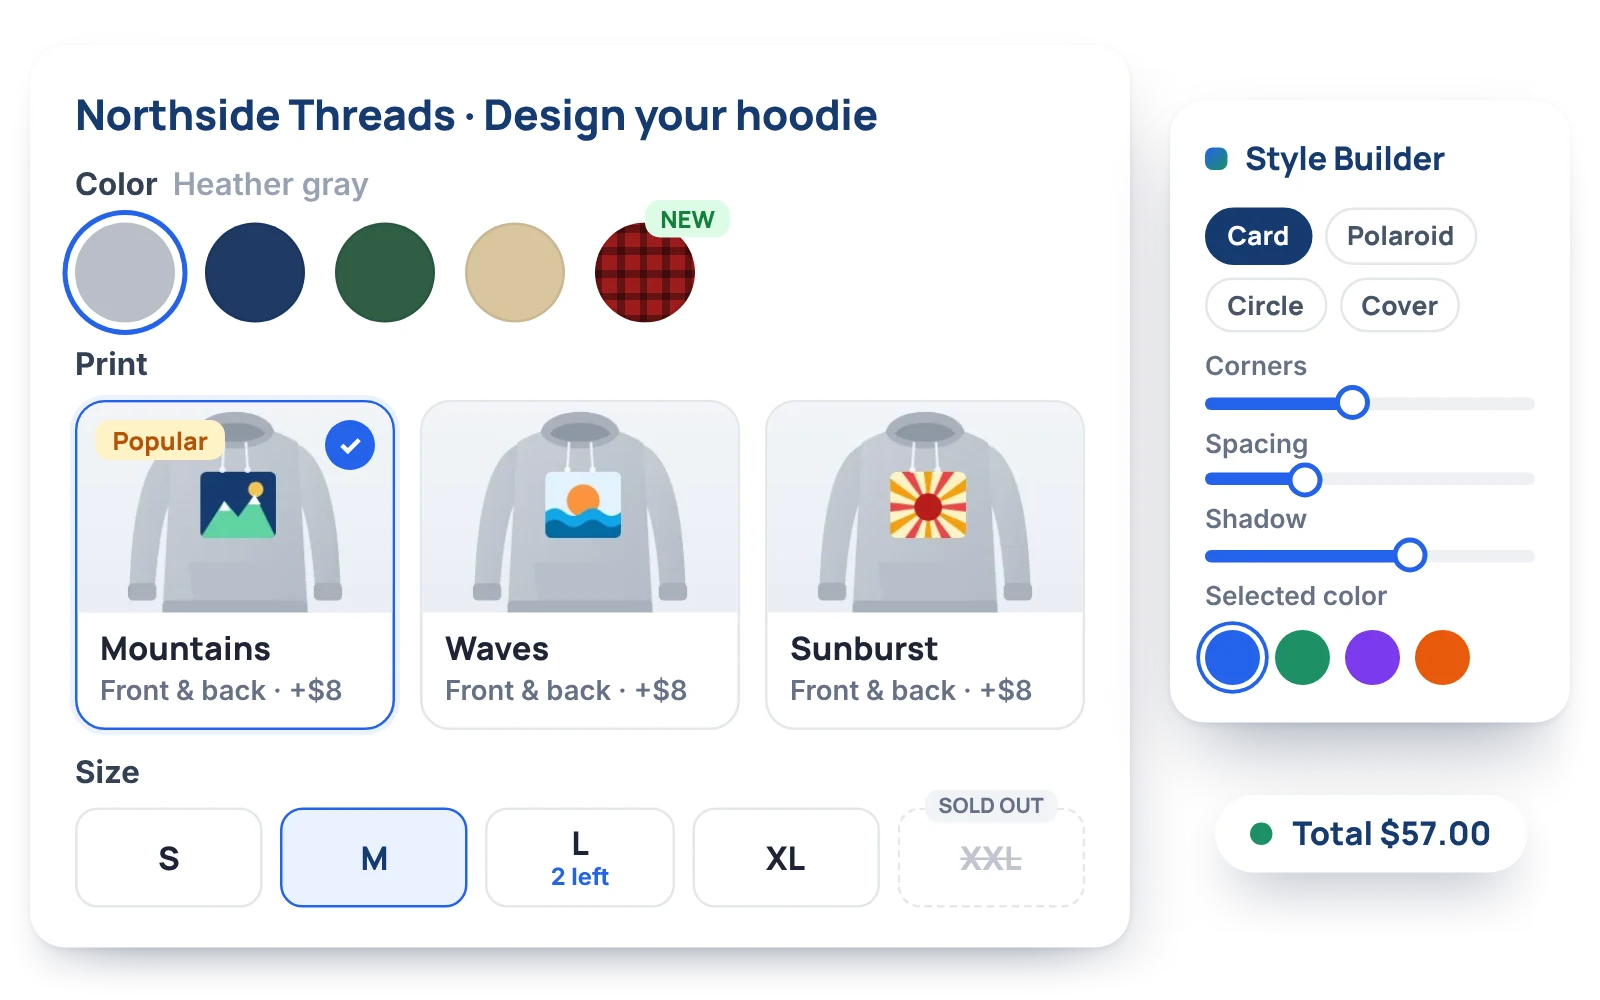
With KodaChoices, turn the Session field into cards and open Limits and stock:
- Set one limit for every session (say 20) or a limit per session.
- Show “4 left” only when places run low.
- Full sessions show Sold out and can’t be picked.
- Set One per person so nobody books twice, recognised by their email address if they’re not logged in.
For weekly sessions, Count again from zero every week resets the places automatically. The limit is checked again when the form is sent, so two people can’t both take the last place.
3. Only ask what’s needed
Gravity Forms’ conditional logic already shows and hides fields. Use it for a Group name and Number of people only when the ticket is Group, or a dietary question only when the dinner is included.
If the event is for young people, an age check helps: a rule can sort people into Under 18 or 18 or over from their date of birth, so the parent consent section appears only when it’s needed. See age checks in Gravity Forms.
4. Split it into steps
Once a registration has more than a dozen fields, splitting it into steps makes it feel shorter: Your details, Your ticket, Group details, Review. Gravity Forms’ Page field does this with a progress bar.
KodaSteps adds clickable step tabs, instant switching, and a review step that lists every answer with Edit links, so people catch a typo in their email before they register. A Group details step can hide itself unless the ticket is Group. More in multi-step Gravity Forms.
5. Send the right files
Confirmation emails are better with something attached: the programme, the venue map, a ticket, a waiver. Gravity Forms only attaches files visitors uploaded, so your own files need another way in.
KodaClip adds your Media Library files to the confirmation, each with its own conditions: the programme for everyone, the waiver only for under-18s, the ticket only once Payment Status is Paid on the Payment Completed event. See attachments in Gravity Forms notifications.
6. A live list for the organisers
Organisers usually end up exporting entries to a spreadsheet the night before. A front-end board keeps that list live instead.
With KodaDash, build a board for the organisers with:
- A Metric showing registrations so far, and another totalling payments.
- A List of attendees with filters for each session, and a Checked in action button to tick people off at the door.
- A Simple Chart of registrations by ticket type or T-shirt size.
Keep the board for logged-in organisers only, and they never need wp-admin. More in displaying entries on the front end.
Putting it together
| Need | Gravity Forms on its own | Add-on |
|---|---|---|
| Fields, payments, confirmation email | Yes | — |
| Limited places, sold out, one per person | No | KodaChoices |
| Show fields only when needed | Yes (conditional logic) | — |
| Clickable steps and a review step | Page field, no review | KodaSteps |
| Your own files in the email, by rule | No | KodaClip |
| Live attendee list and check-in | No | KodaDash |
Start with Gravity Forms alone, and add the pieces your event actually needs.